Employee Process for Completing Form I-9 Section 1
To complete Section 1 of Form I-9:
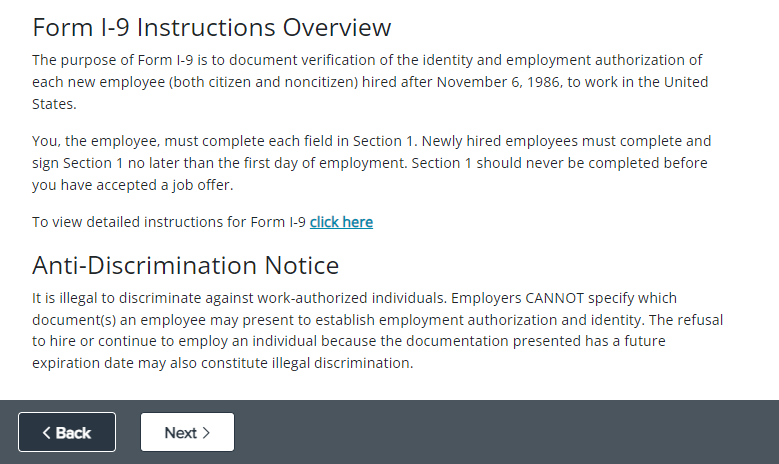
If necessary, the employee can click View Instructions to review instructions for completing Form I-9 directly on the USCIS website.
-
The employee logs in to Onboarding and selects I-9 in the navigation menu on the left. The Form I-9 Instructions Overview displays.
-
After reviewing the information in each section, the employee clicks Next to proceed to the Preparer and Translator Certification.
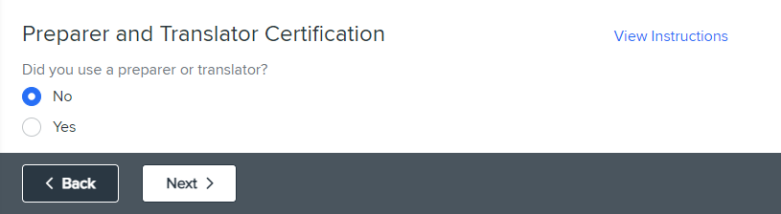
If the employee was assisted by a preparer or translator in completing the Form I-9, the employee selects Yes and an additional field displays to allow the employee to upload the Form I-9 provided by their preparer or translator. In addition, the employee can select the I have more than one preparer or translator option to indicate multiple preparers or translators were used and upload an I-9 Supplement form provided by their second preparer or translator.
Otherwise, the employee selects No.
-
Once a selection is made and documents have been uploaded as applicable, the employee clicks Next. The Attestation of Citizenship or Immigration Status displays.

The employee selects the appropriate option for their citizenship or immigration status. Depending on the option selected, additional fields display to allow the employee to enter additional information such as their Alien Registration Number/USCIS Number.
-
After making entries as necessary, the employee clicks Next. The Supporting Documents screen displays.
Note: This screen only displays if the option for uploading supporting documents is enabled for the client. If uploading supporting documents is disabled, the Employee Information screen displays instead. Proceed to step 5.
For more information about enabling this setting at the client level, refer to
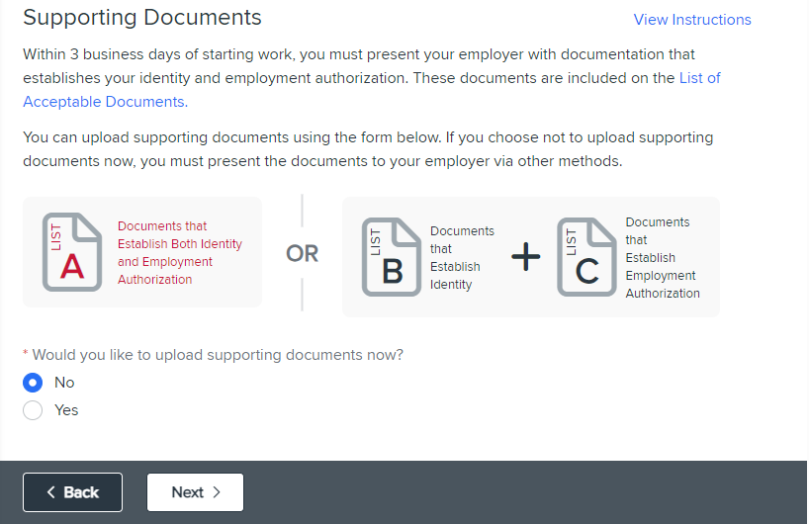
If the employee chooses to upload supporting documents at a later time, the employee selects No.
If the employee chooses to upload supporting documents now, the employee selects Yes. Additional fields display to allow the employee to select the type of supporting documents to upload and then upload the documents.
-
Once a selection is made and documents have been uploaded as applicable, the employee clicks Next. The Employee Information screen displays.
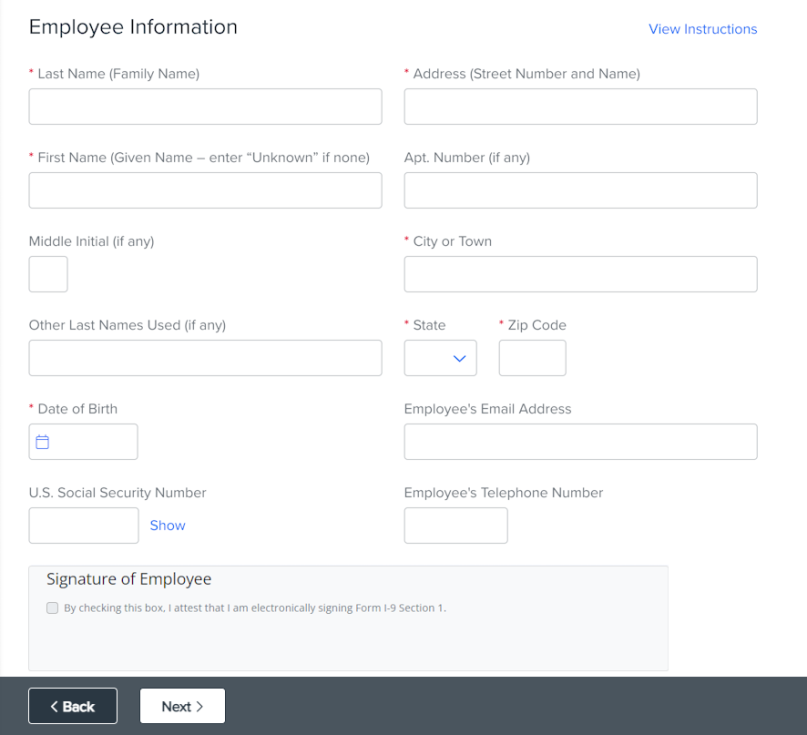
The employee enters information in each field as appropriate. Once entries are made, the employee selects the checkbox in the Signature of Employee section to indicate that they consent to electronically signing the form. The employee's name and the current date are automatically entered in this section when the checkbox is selected. The employee's address is validated automatically to ensure accuracy.
-
After selecting the checkbox in the Signature of Employee section, the employee clicks Next. The Review screen displays.
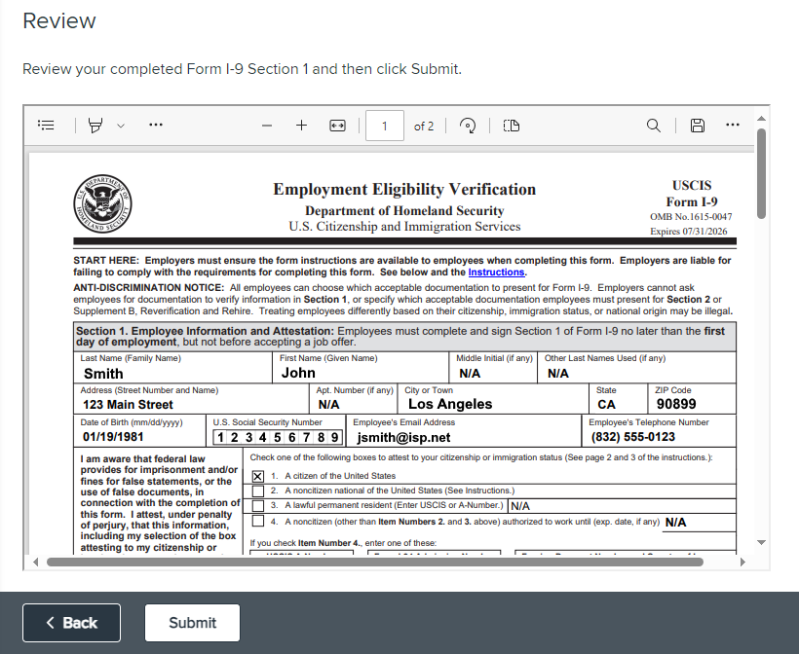
The employee can review a PDF copy of their completed Form I-9 and download a copy for their own records if necessary. If information on the form needs to be corrected or otherwise modified, the employee clicks Back to navigate back to the appropriate screen and correct the information.
-
After reviewing the information on the form, the employee clicks Submit. A message window displays to confirm the form should be submitted. The employee clicks Yes, and the completed section of the Form I-9 is submitted for approval. The onboarding process then continues to the next form in the workflow.
